
A Concord homeowner steps into the driveway after a March hailstorm with the noise still ringing in the yard. The gutters are dented, the patio furniture is pocked, and the roof looks normal from the street. That last detail can mislead. A roof inspection after hail storm conditions may reveal bruised shingles, granule loss, cracked tiles, or hidden impact damage even when no ceiling leak has appeared.
The sensible response isn't to climb a wet roof or file a claim based on one dented vent. Start with a layered triage process: check the property from the ground, add a drone or attic review when the evidence calls for it, and reserve an on-roof inspection for roofs with credible signs of functional damage. Severe hail deserves attention across California, and the need isn't limited to homes with obvious interior water damage. Verisk reported that 16 U.S. states had at least 20% of roofs affected by severe hail in 2025, compared with 12 states in 2024, with Kansas reaching 51.8% and other high-impact states including Arkansas, Nebraska, Oklahoma, and South Dakota above 41% (Verisk's 2026 roof report).
Table of Contents
- What to Do in the First 24 Hours After Hail Hits
- Choosing the Right Level of Inspection
- How a Professional Roof Inspection Actually Works
- Reading the Damage on Shingles, Tiles, and Metal
- Cosmetic Damage Versus Functional Damage
- Documenting Hail Damage for Your Insurance Claim
- When to Call a Local Roofing Contractor
What to Do in the First 24 Hours After Hail Hits
Start with safety, not the ladder
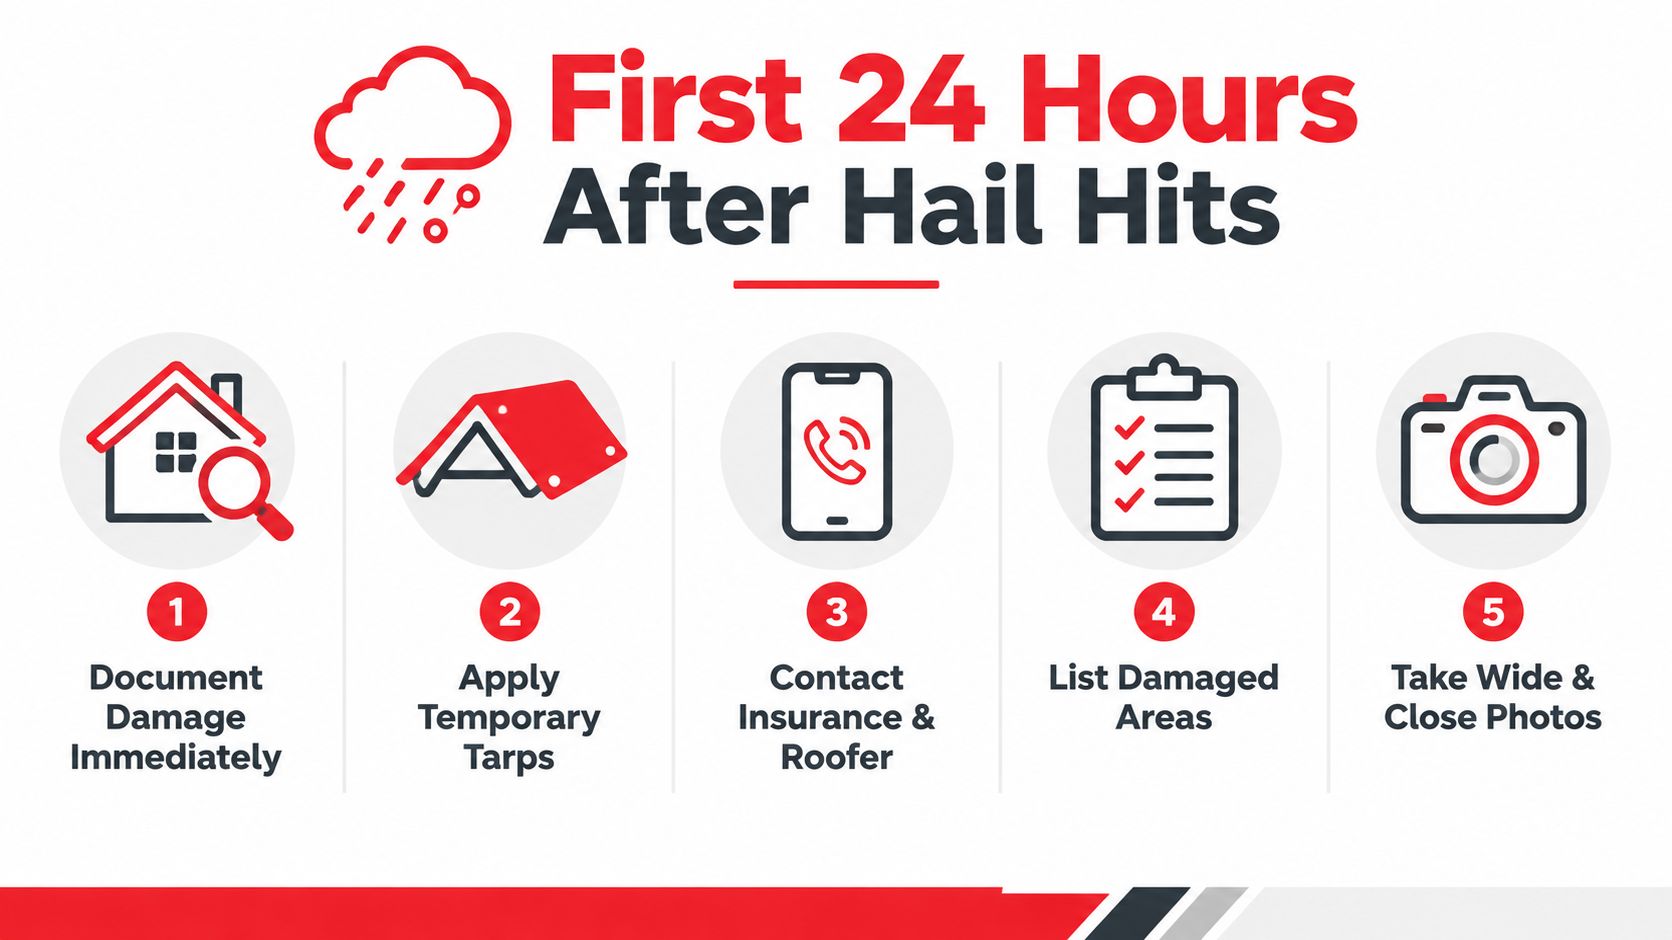
The first inspection happens at ground level. Wet concrete, slick shingles, broken skylight glass, loose branches, and downed electrical lines create more immediate danger than a few missing granules. Children and pets should stay away from areas beneath skylights until the glass has been checked from a safe position.
A Concord homeowner should walk the property without approaching hazards and record what the storm touched. Useful collateral clues include dented mailboxes, cracked air-conditioning fins, scoured paint on south-facing trim, and pockmarks on deck furniture. These marks don't prove roof damage by themselves, but they help establish whether hail had enough force to affect exposed roofing materials.
Stabilize active water entry
If water is entering the home, temporary mitigation takes priority over a detailed diagnosis. Place containers beneath ceiling drips, photograph water stains before cleaning, and move furnishings away from the affected area. A qualified professional should handle roof tarping when access is unsafe.
The insurance clock runs in parallel. Homeowners should notify their insurer according to the policy's requirements and keep a record of the storm date, call time, claim number, and every mitigation expense. A notification isn't an admission that the roof needs replacement. It creates a documented starting point while the physical evidence is still fresh.
Practical rule: Don't climb the roof yourself after hail. Document from the ground, protect the interior, and let a licensed roofer decide whether the next step is a drone review, attic check, or hands-on inspection.
Choosing the Right Level of Inspection
A sensible inspection level depends on hail size, roof material, and collateral evidence, not anxiety alone. About 1 inch of hail, roughly quarter-size, makes significant damage more likely on standard asphalt shingles, although smaller hail can still harm aged or brittle roofing (industry guidance on hail size and asphalt shingles). Material changes the decision as well. Listed steep-slope thresholds vary from 1 inch for lightweight asphalt shingles to 2½ inches for galvanized steel panels (material-specific hail thresholds).
Four practical tiers
| Inspection Tier | Hail Trigger | Best For | Limits |
|---|---|---|---|
| Ground check | Small hail with no collateral hits | Accessible homes, binocular and camera review | Can't confirm concealed functional damage |
| Drone review | Stronger storm evidence or unsafe access | Tile, metal, steep, wet, or fragile roofs | Images may not establish bruising or seal failure |
| Attic check | Interior stains, damp insulation, or suspected penetration | Homes with water-entry clues | Doesn't show all exterior impact damage |
| On-roof inspection | Hail above 1 inch, cracked tiles, or functional concerns | Claim documentation and repair decisions | Requires trained access and carries roof-surface risk |
A ground-level review is reasonable when pea-sized hail hit an architectural asphalt roof and no mailbox, siding, gutter, or equipment damage is visible. Binoculars can reveal missing pieces or obvious cracks, but they won't reliably confirm a soft shingle bruise.
A drone scan is more useful when quarter-sized hail struck tile or metal and the roof is steep, wet, fragile, or difficult to access. Remote imagery helps sort a roof into likely damaged, likely undamaged, or needing closer review. That layered approach reflects the changing role of aerial imagery and remote sensing in hail investigations (industry coverage of remote hail verification).
An attic check becomes urgent when stains, daylight, moisture, or crushed insulation appear indoors. An on-roof inspection is the right investment when the storm exceeded the material's practical threshold, collateral evidence is widespread, or a decision about repair versus replacement requires physical testing. Thresholds remain rules of thumb, not guarantees, because assembly, age, condition, impact angle, and installation all affect performance (guidance on hail thresholds and functional damage).
How a Professional Roof Inspection Actually Works
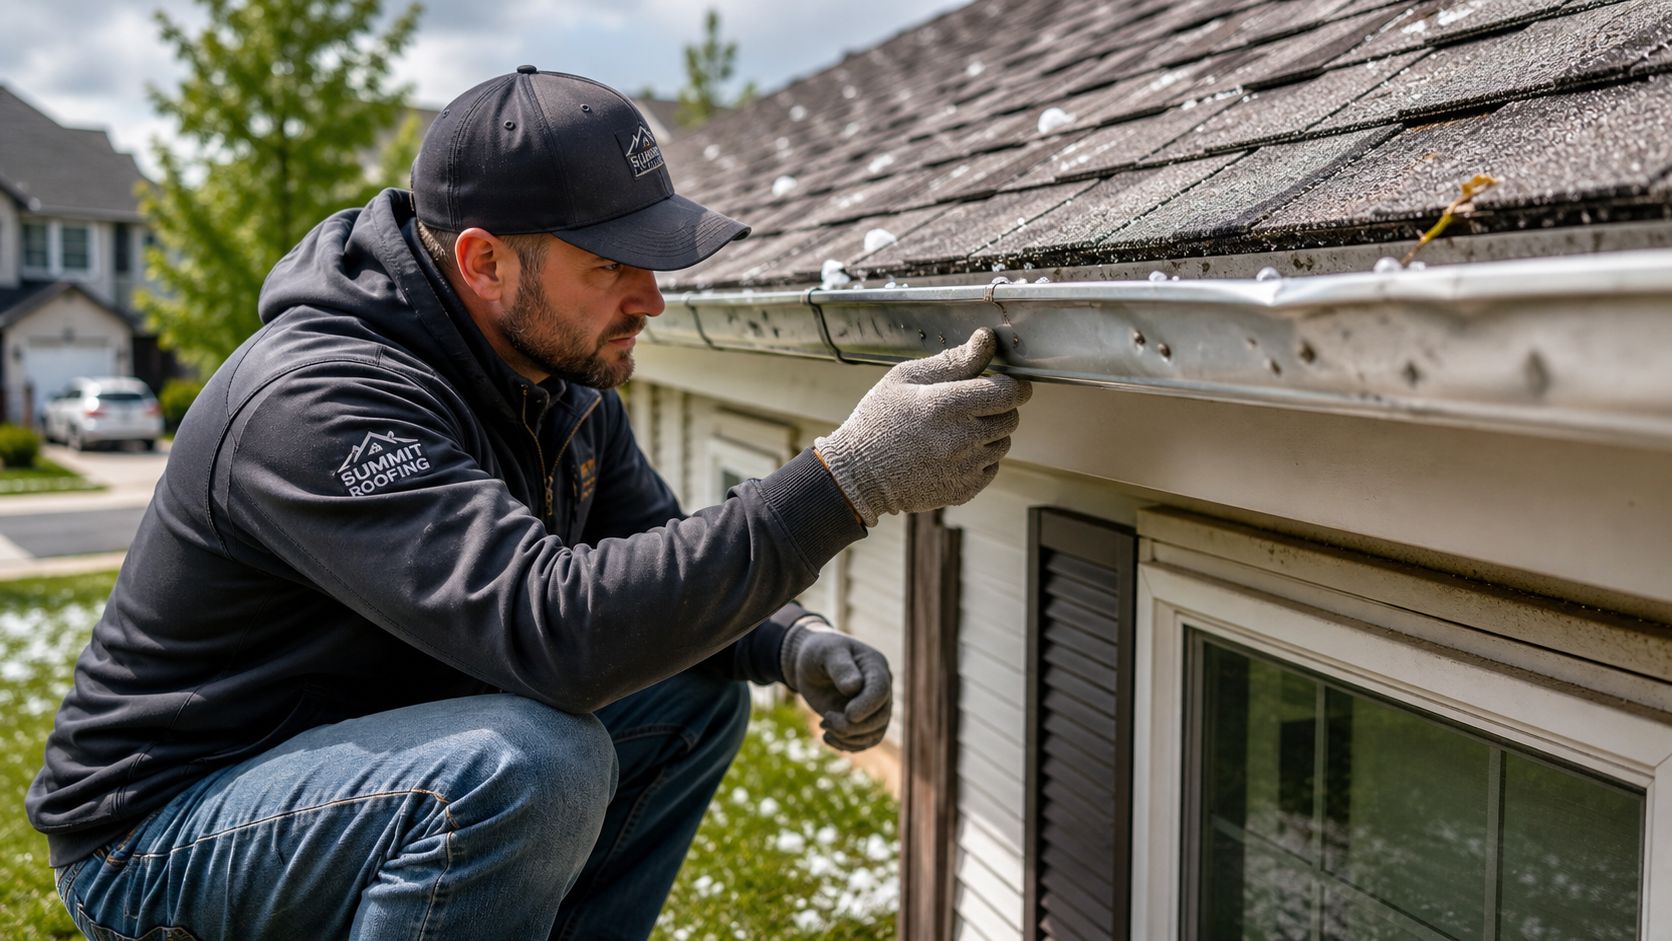
A credible inspection begins before anyone steps onto the roof. The contractor walks the eaves, gutters, downspouts, chimney cap, window screens, and exterior equipment, looking for fresh dents or impact marks that tie the storm to that specific property. Date-stamped photographs of those surfaces give the report useful context instead of treating isolated roof marks as proof by themselves.
The roof review then proceeds slope by slope. A technically sound method uses 100-square-foot test squares, commonly 10 feet by 10 feet, with at least one representative area on each roof direction. The inspector places each square where impacts are most likely, avoiding tree cover or other shielding, then performs close visual and tactile examination inside it (standard test-square inspection method).
What gets examined inside the sample
Within each square, the inspector looks for circular bruises, fractures, displaced granules, exposed mat, and damaged seal areas. A tactile check can identify a soft bruise that a wide photograph misses, while controlled chalk marking helps separate confirmed impacts from old stains, manufacturing patterns, and foot traffic.
The inspector also examines flashings, vents, drip edges, gutters, and other soft metals. Those surfaces can validate storm intensity and help identify the roof faces that received the strongest exposure. An attic review adds another layer by checking moisture, daylight, damp insulation, and deck conditions.
Homeowners who want a general preparation checklist can review these roof inspection tips for homeowners before the visit. The resource is useful for organizing ground photos and questions, but it shouldn't substitute for a licensed professional evaluating questionable damage.
The final deliverable should include a written report, slope-by-slope findings, test-square locations, photographs, damage classifications, and a repair-versus-replacement recommendation. It should also identify the roof material, visible collateral evidence, and any moisture findings. A homeowner can use California Roof Pros roof inspection services as one local option for obtaining documented findings after a storm.
Reading the Damage on Shingles, Tiles, and Metal
A dented gutter often tells the story first. On a Concord property, a row of fresh circular depressions along the exposed gutter edge can point toward the roof slopes that took the hardest impacts. Granules gathered in the gutter add another clue, while pockmarked screens, vent covers, and painted trim help distinguish a real hail event from ordinary roof aging.
Asphalt shingles
Hail bruises asphalt shingles in scattered, rounded spots. The surface may look intact from the driveway, but close inspection can reveal a dark depression, localized granule loss, or exposed fiberglass mat. A soft spot that yields under careful professional pressure is more concerning than a superficial color variation.
Age matters. A brittle shingle can respond poorly to smaller impacts, while a newer, flexible shingle may show cosmetic scuffing without losing weatherproofing. The inspector must compare the mark with the shingle's overall condition and determine whether the impact compromised the mat, seal, or water-shedding surface.
Tile and composite systems
Clay and concrete tiles commonly crack or chip at the strike point. Cracks can radiate into the field, and a broken tile may expose the underlayment to weather. Composite tiles may show round divots or fractured edges that aren't visible from a low angle.

Metal panels and soft metals
Standing-seam and corrugated metal roofs may receive dents without panel fractures. Those dents can remain cosmetic, although coating or finish damage may affect manufacturer warranty questions. Impact-rated metal shingles can show small craters near fasteners, where movement and attachment details deserve closer attention.
The roof's material, age, slope, and storm evidence should determine inspection depth. For more detail on shingle-specific repair considerations, homeowners can review this California roof shingle repair guide, then leave final damage classification to a qualified inspector.
Cosmetic Damage Versus Functional Damage
After a hailstorm, a roof can look battered and still keep water out. It can also look acceptable while hidden damage weakens that protection. The claim question is therefore whether the impact changed the roofing system's performance, not just whether a mark is visible.
Cosmetic damage may include a dent, scuff, shallow chip, or nonfractured metal panel. Functional damage affects water shedding or the system beneath it, such as bruised asphalt mat, exposed mat, cracked tile, displaced flashing, failed seal strips, or a puncture.
The practical distinction
A dented metal panel that remains intact may be cosmetic. A cracked tile over sound underlayment may call for a targeted repair, while fractured tiles spread across one slope can create a larger exposure. On asphalt shingles, loose granules need context. A soft bruise, weakened mat, or broken shingle warrants closer attention because the damage may not be obvious from the ground.
According to the linked hail inspection and test-square guidance, 10 or more damaging impacts per 100 square feet on many roof systems may justify removal and replacement. That benchmark is not an automatic coverage or replacement decision. The inspector must first separate hail impacts from age, foot traffic, installation issues, and other unrelated wear, then confirm whether the pattern is representative of the roof.
| Roof Material | Cosmetic Damage Signs | Functional Damage Signs |
|---|---|---|
| Asphalt shingles | Light scuffing or shallow surface marks | Bruising, exposed mat, cracked shingle, failed seal |
| Tile | Small edge chip with weather layer intact | Through-crack, fractured field, displaced tile |
| Metal | Panel dent without fracture | Puncture, split coating with substrate concern, attachment damage |
A test square can help establish impact frequency, but one sample cannot represent every roof face when hail tracks unevenly. Inspectors should check each slope, record the location and type of impact, and compare the findings with storm evidence and collateral marks. That layered review is why a ground check should come before drone work or roof access when the storm appears marginal.
Age and pre-existing condition also affect the recommendation. A newer metal roof with isolated dents may need a different response from an older panel already showing oxidation. Likewise, normal shingle aging should remain separate from storm-created bruising. Isolated cosmetic damage may support repair, while widespread, documented functional damage that matches the storm evidence deserves a closer replacement review.
Documenting Hail Damage for Your Insurance Claim
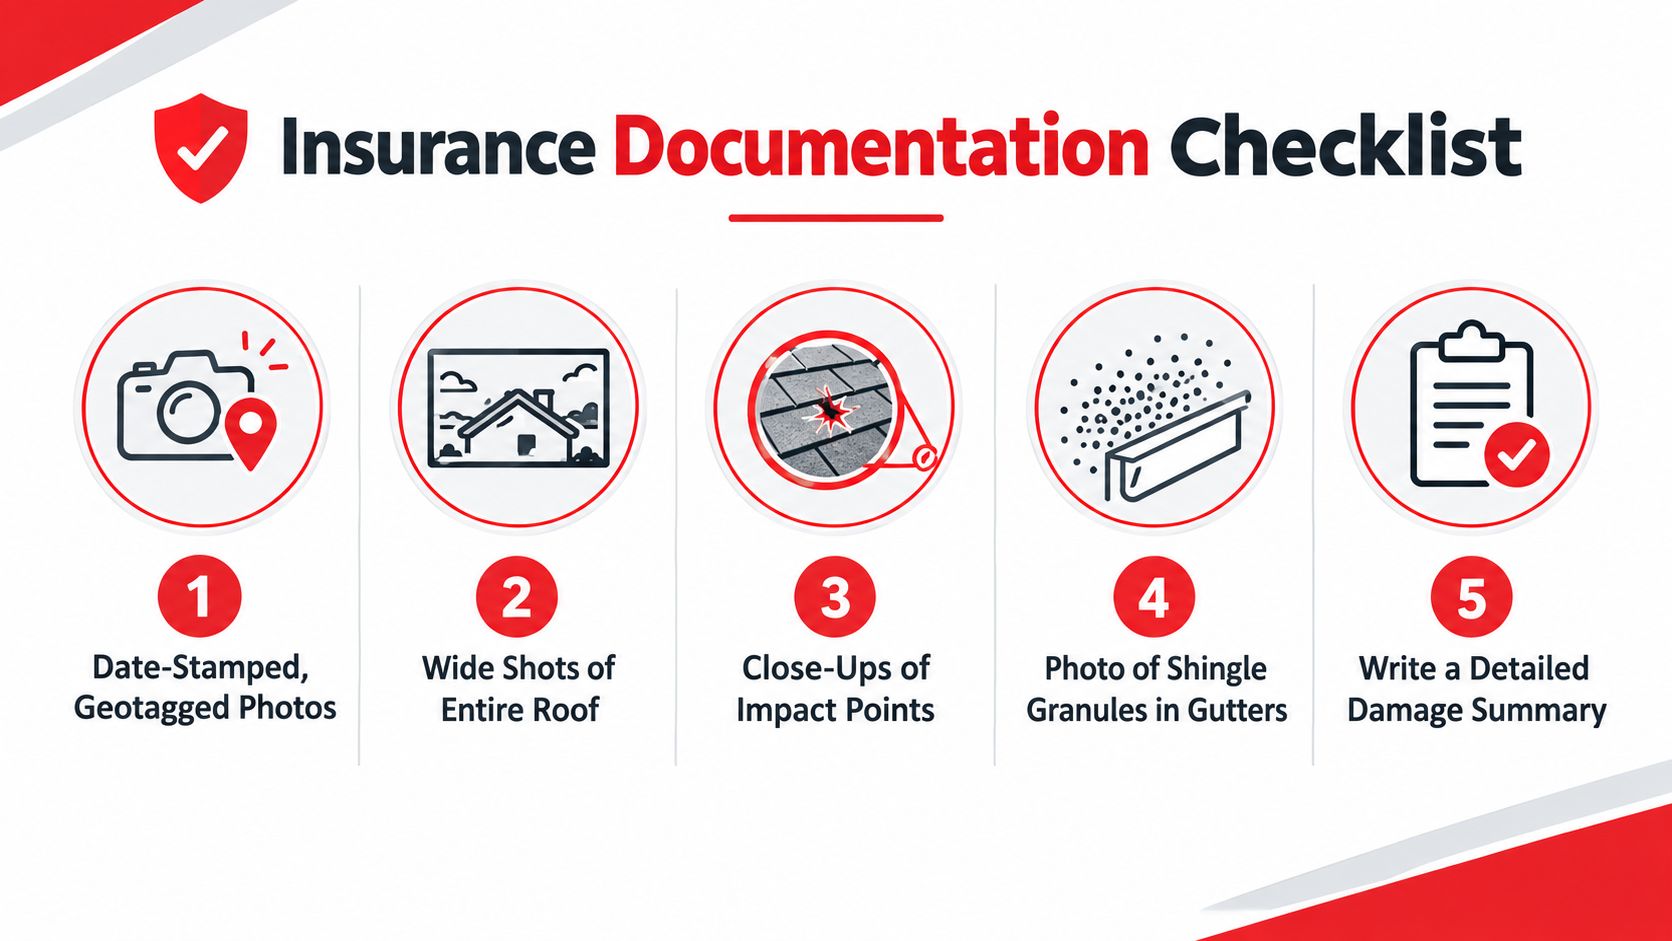
A claim file should let an adjuster follow the event from storm date to current condition. Record when the hail occurred, the affected roof areas, the inspection tier that produced each finding, and any temporary work used to prevent additional loss. Earlier ground, drone, or on-roof inspections should be identified clearly, so the file shows why that level of access was selected rather than presenting every observation as if it came from a full roof inspection.
Organize the insurance file around the claim
Start with the claim number, policy number if available, storm date, adjuster's name, phone number, email address, and the applicable hail deductible. Keep the insurer's correspondence with the file, including requests for documents, inspection appointments, coverage explanations, and payment information.
A contractor's report should state the roof age when known, material type, affected slope or roof-face locations, inspection method, and whether access was limited. If the inspection stopped after a ground check or drone review because the storm appeared marginal, say so. If findings justified roof access, connect the on-roof photographs and conclusions to that decision.
The report should separate storm-created conditions from age, prior wear, and unrelated defects. It should also identify whether the observed damage appears cosmetic or functional, without treating a recommendation as a coverage decision. Organize photographs by elevation, roof face, and finding. Each image should have enough location and context for the adjuster to understand what it shows.
The five-step documentation checklist for hail damage photos and reports can help keep the file in a usable order.
Keep prior inspection reports, maintenance records, repair invoices, and property records that establish condition before the storm. For an HOA-managed property, association records may help document earlier conditions, but they do not replace evidence from the affected building.
Preserve mitigation records
Active leaks need prompt stabilization, provided the work can be performed safely. A qualified roofer may place temporary protection over the damaged slope, protect wet attic insulation from further exposure, or remove standing water from affected interior materials. Do not climb onto a wet or unstable roof to install a tarp, and do not create new damage while trying to prevent old damage from spreading.
Save receipts, invoices, photographs, and written descriptions for every mitigation step. Note the date, location, reason for the work, and materials used. Keep damaged materials when practical, unless leaving them in place creates a safety or moisture problem. Coverage depends on the policy, so submit the records without assuming reimbursement.
Avoid applying sealant over suspected impact points before inspection. Smears can conceal the original condition, interfere with testing, and make the claim record harder to evaluate. Temporary protection addresses immediate exposure. It does not establish the extent of covered damage or replace a repair decision.
Homeowners can use California Roof Pros insurance claim assistance to organize the contractor handoff, while the insurer makes the coverage decision under the policy terms.
When to Call a Local Roofing Contractor
The contractor call becomes appropriate when the ground check or drone review confirms real impact, when hail reached a size likely to affect the installed material, or when the roof shows cracks, bruises, displacement, or interior water entry. A roof older than 10 years also deserves a more cautious evaluation because age and storm impact can overlap, making surface marks harder to classify; that age-based consideration is a practical screening factor, not an automatic replacement rule.
A licensed local contractor should explain what the inspection will include before access begins. The handoff should cover roof access, slope-by-slope photographs, representative test squares, collateral evidence, attic moisture checks when needed, and a written recommendation that distinguishes repairable damage from a replacement condition.
What the appointment should produce
The homeowner should expect the inspector to:
- Verify storm evidence: Check gutters, vents, equipment, screens, trim, and other exposed surfaces.
- Examine every roof section: Avoid relying on one convenient or shielded sample.
- Document functional findings: Record bruises, cracks, granule loss, fractured tiles, and attachment concerns.
- Explain the recommendation: State why a repair, monitoring plan, or replacement is appropriate.
- Separate inspection from pressure: Give the homeowner usable findings even when the roof doesn't warrant a claim.
Free storm inspections are common in hail-affected areas, but a homeowner should still ask whether the report is written, whether the inspector is licensed and insured, and whether the recommendation is based on documented functional damage. A reputable roofer will say the roof is fine when the evidence supports that conclusion. That honesty is more valuable than a dramatic report built around every mark on an aging roof.
California Roof Pros provides free inspections with written findings, storm-related leak response, repair and replacement work, and insurance claim assistance for residential and commercial properties across Concord, the East Bay, and California service areas. To arrange a documented roof inspection after hail storm conditions, visit California Roof Pros and submit the project details for scheduling.

The CA Roof Pros Editorial Team brings together roofing professionals and experienced content specialists dedicated to providing accurate, practical information about roofing, repairs, maintenance, and replacement. Every article is researched and reviewed to help California homeowners make informed decisions about their roofing needs.